
How to make resin jewelry? Creating resin jewelry is a rewarding and creative craft that allows you to make unique and personalized pieces. Resin is a versatile material that can be shaped and molded, making it perfect for jewelry making. Whether you are a beginner or an experienced crafter, making resin jewelry is a fun and accessible project. In this step-by-step guide, we will walk you through the process of making resin jewelry, from selecting materials and preparing the workspace to pouring, curing, and finishing your beautiful creations.
Selecting Materials and Preparing the Workspace
Before you begin working with resin, gather the following materials and set up your workspace:
Materials:
- Resin: Choose a jewelry-grade resin that is suitable for your project. Epoxy resin or UV resin are popular options. Check the instructions for the specific resin you choose to ensure it is appropriate for your intended use.
- Molds: Select molds in various shapes and sizes for your jewelry pieces. There is a wide range of options available, including silicone molds, bezels, or even recycled container lids.
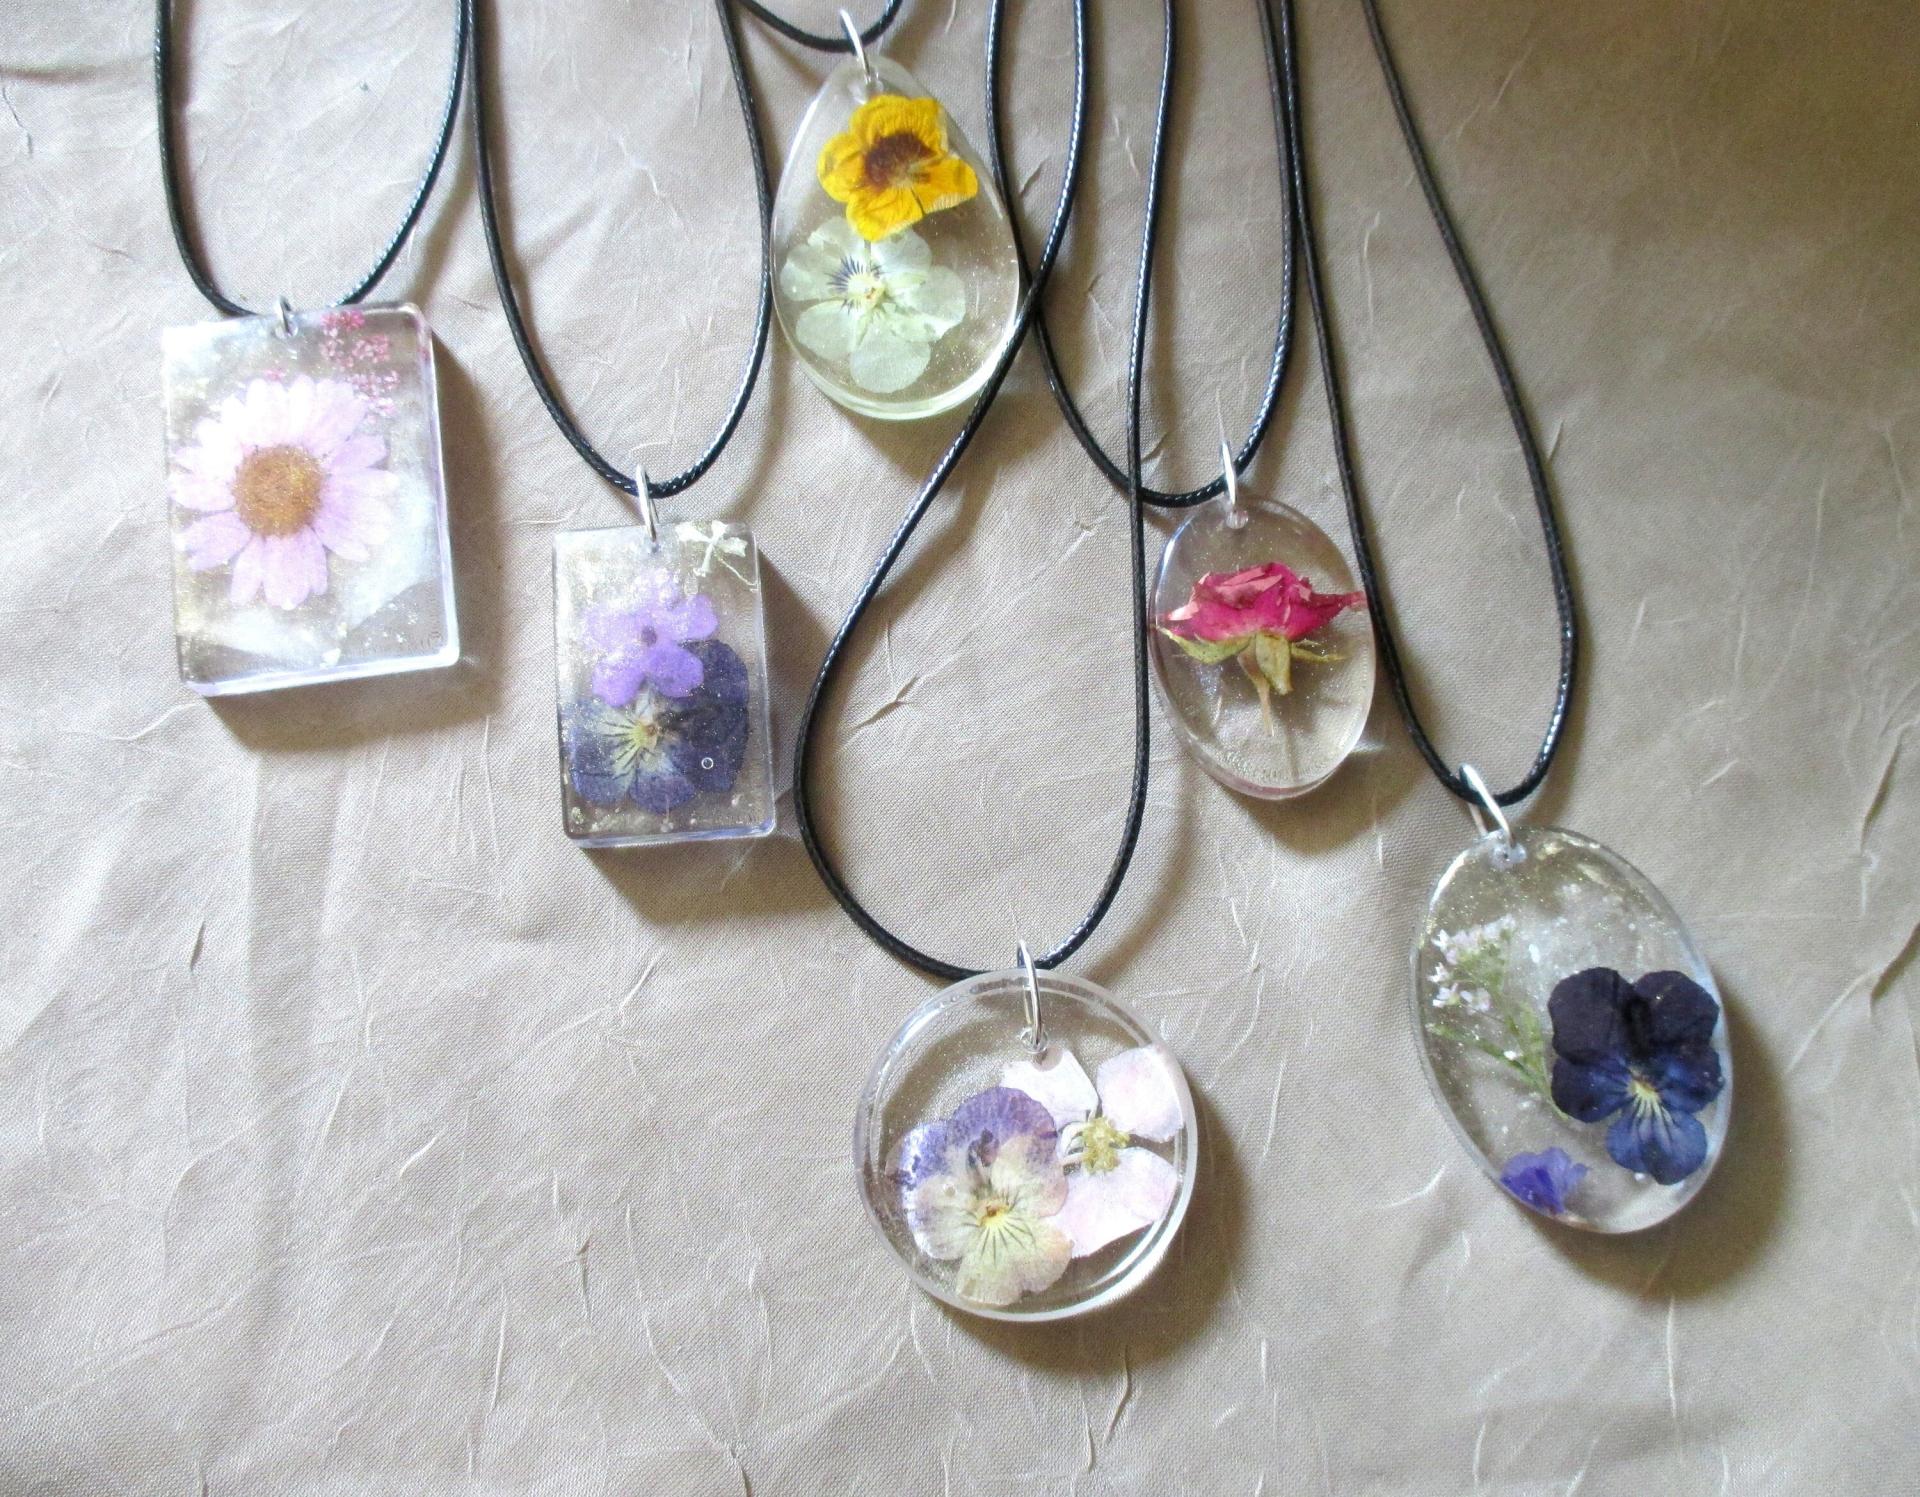
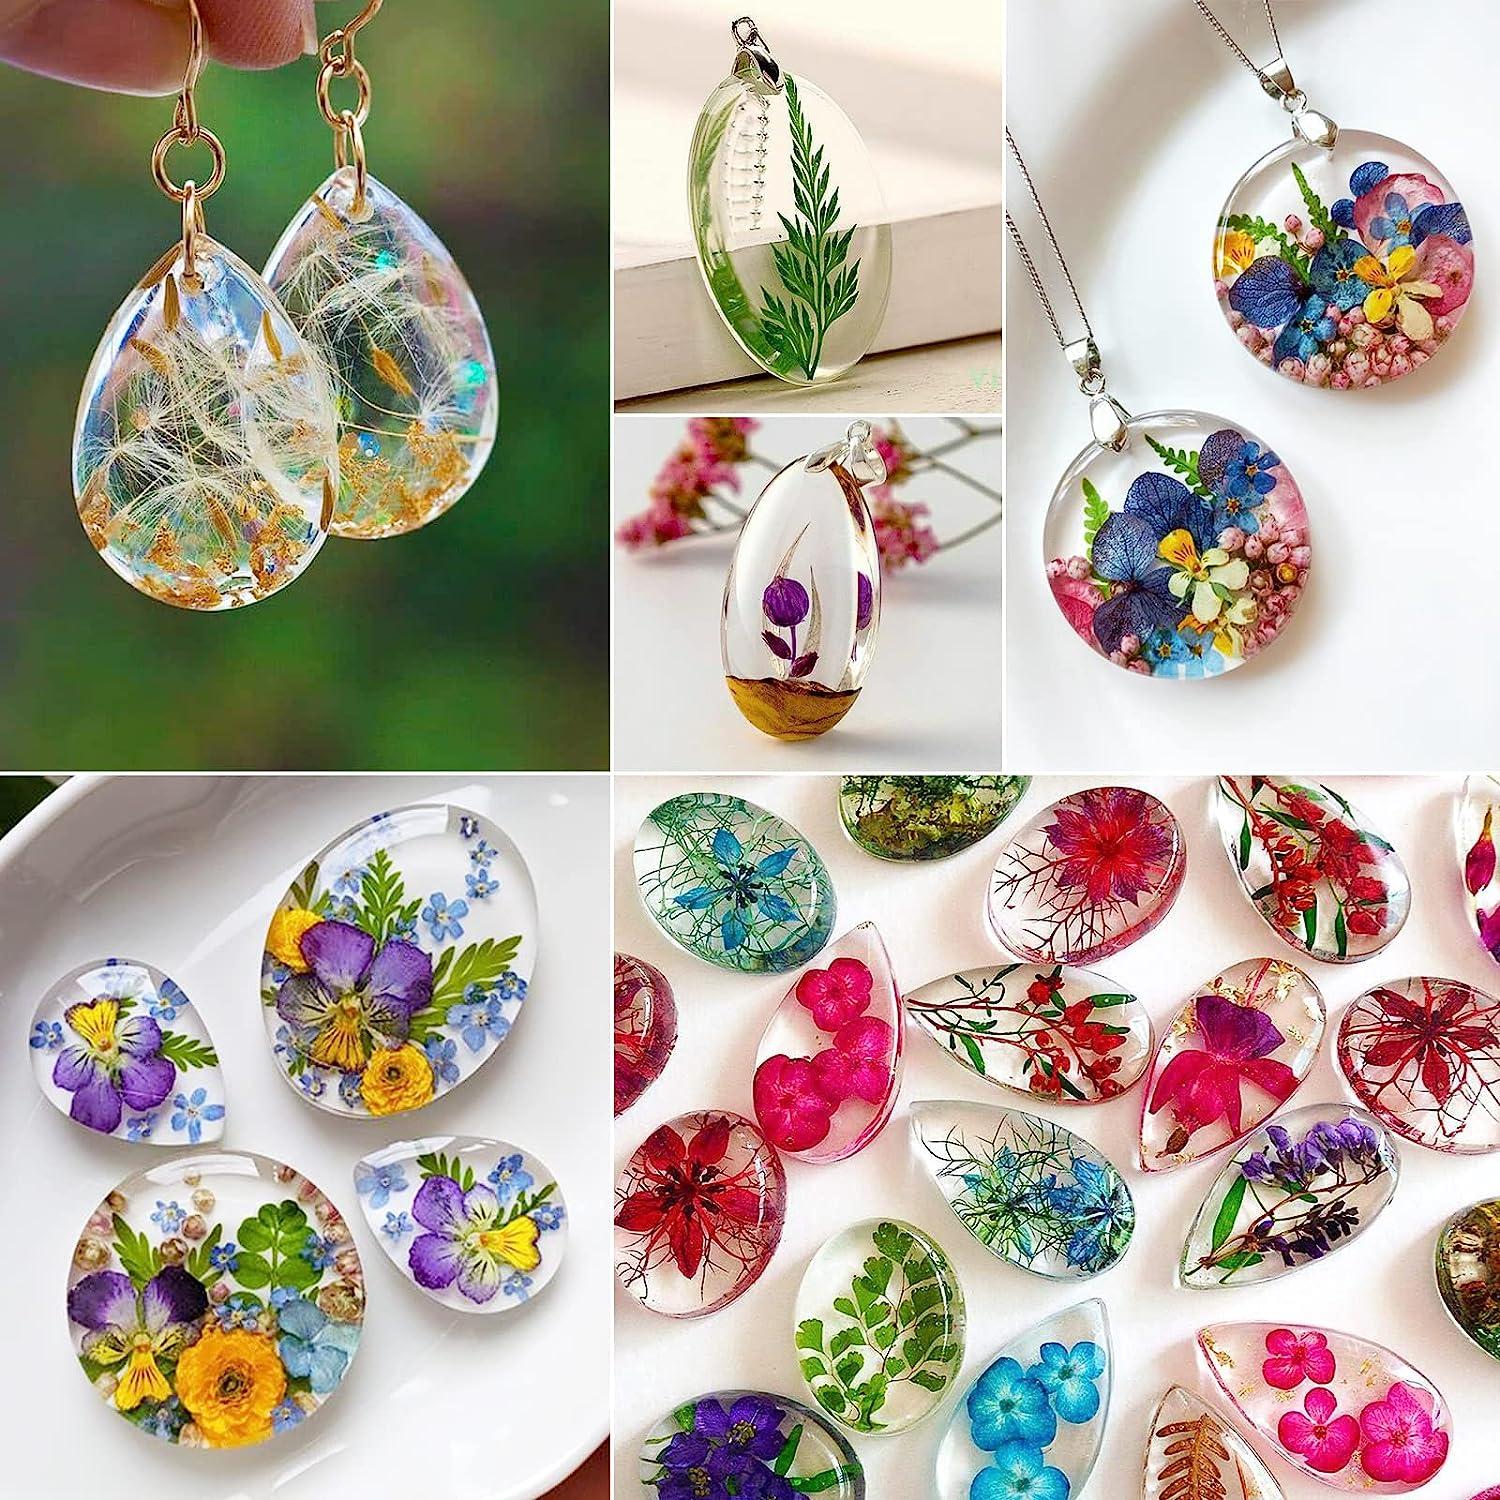
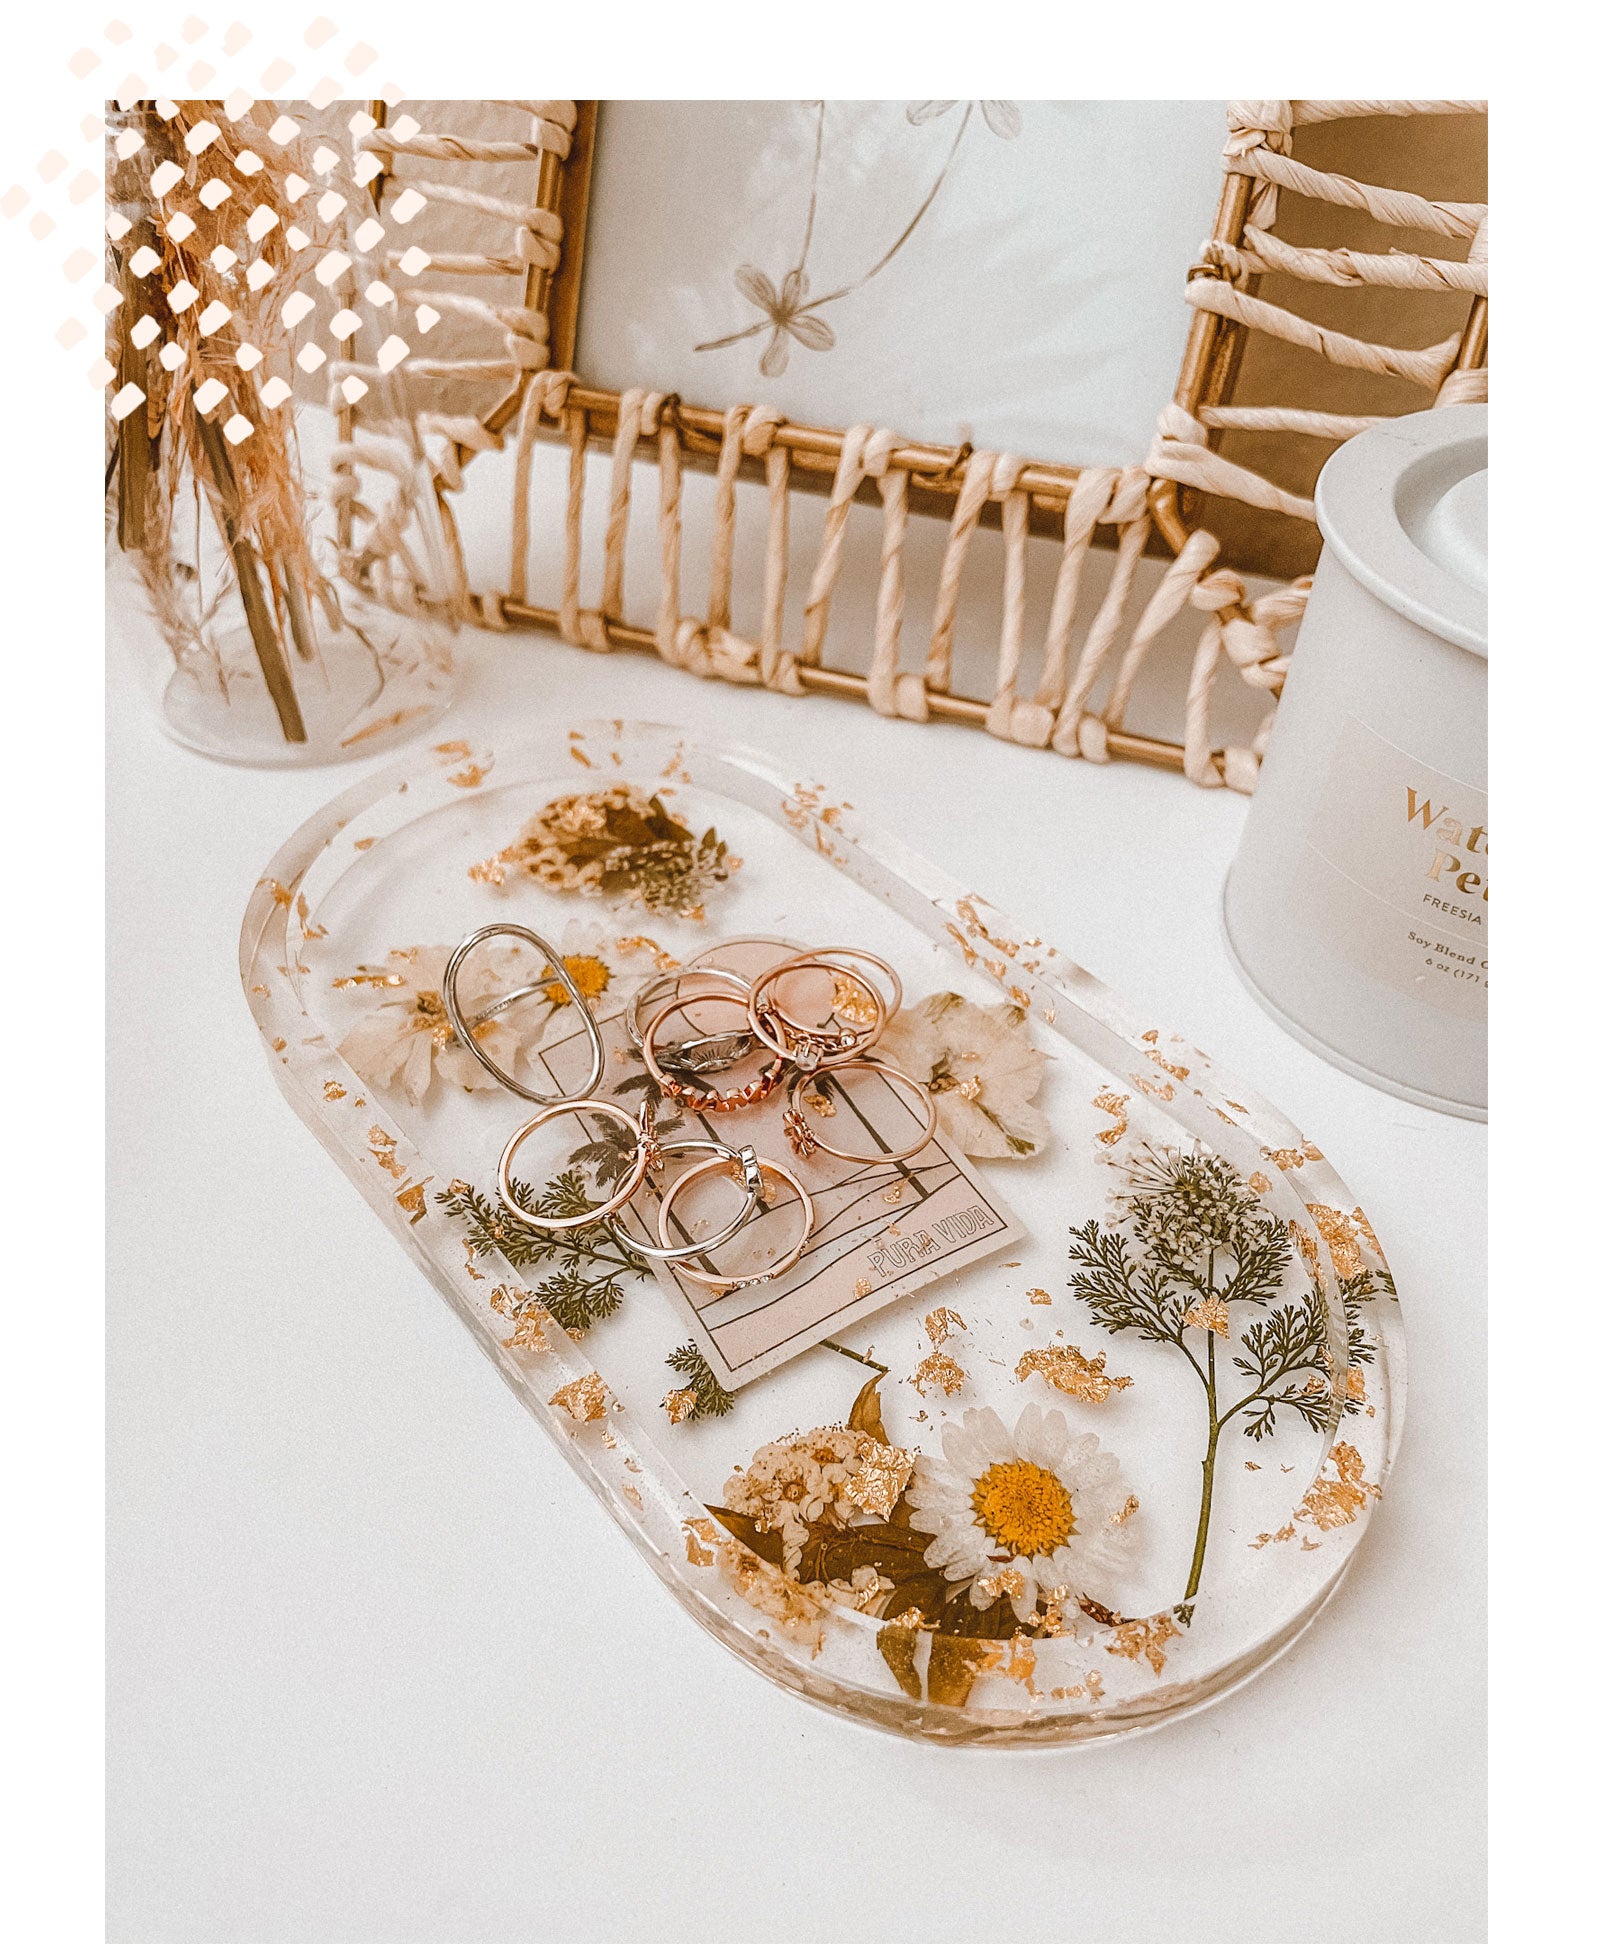
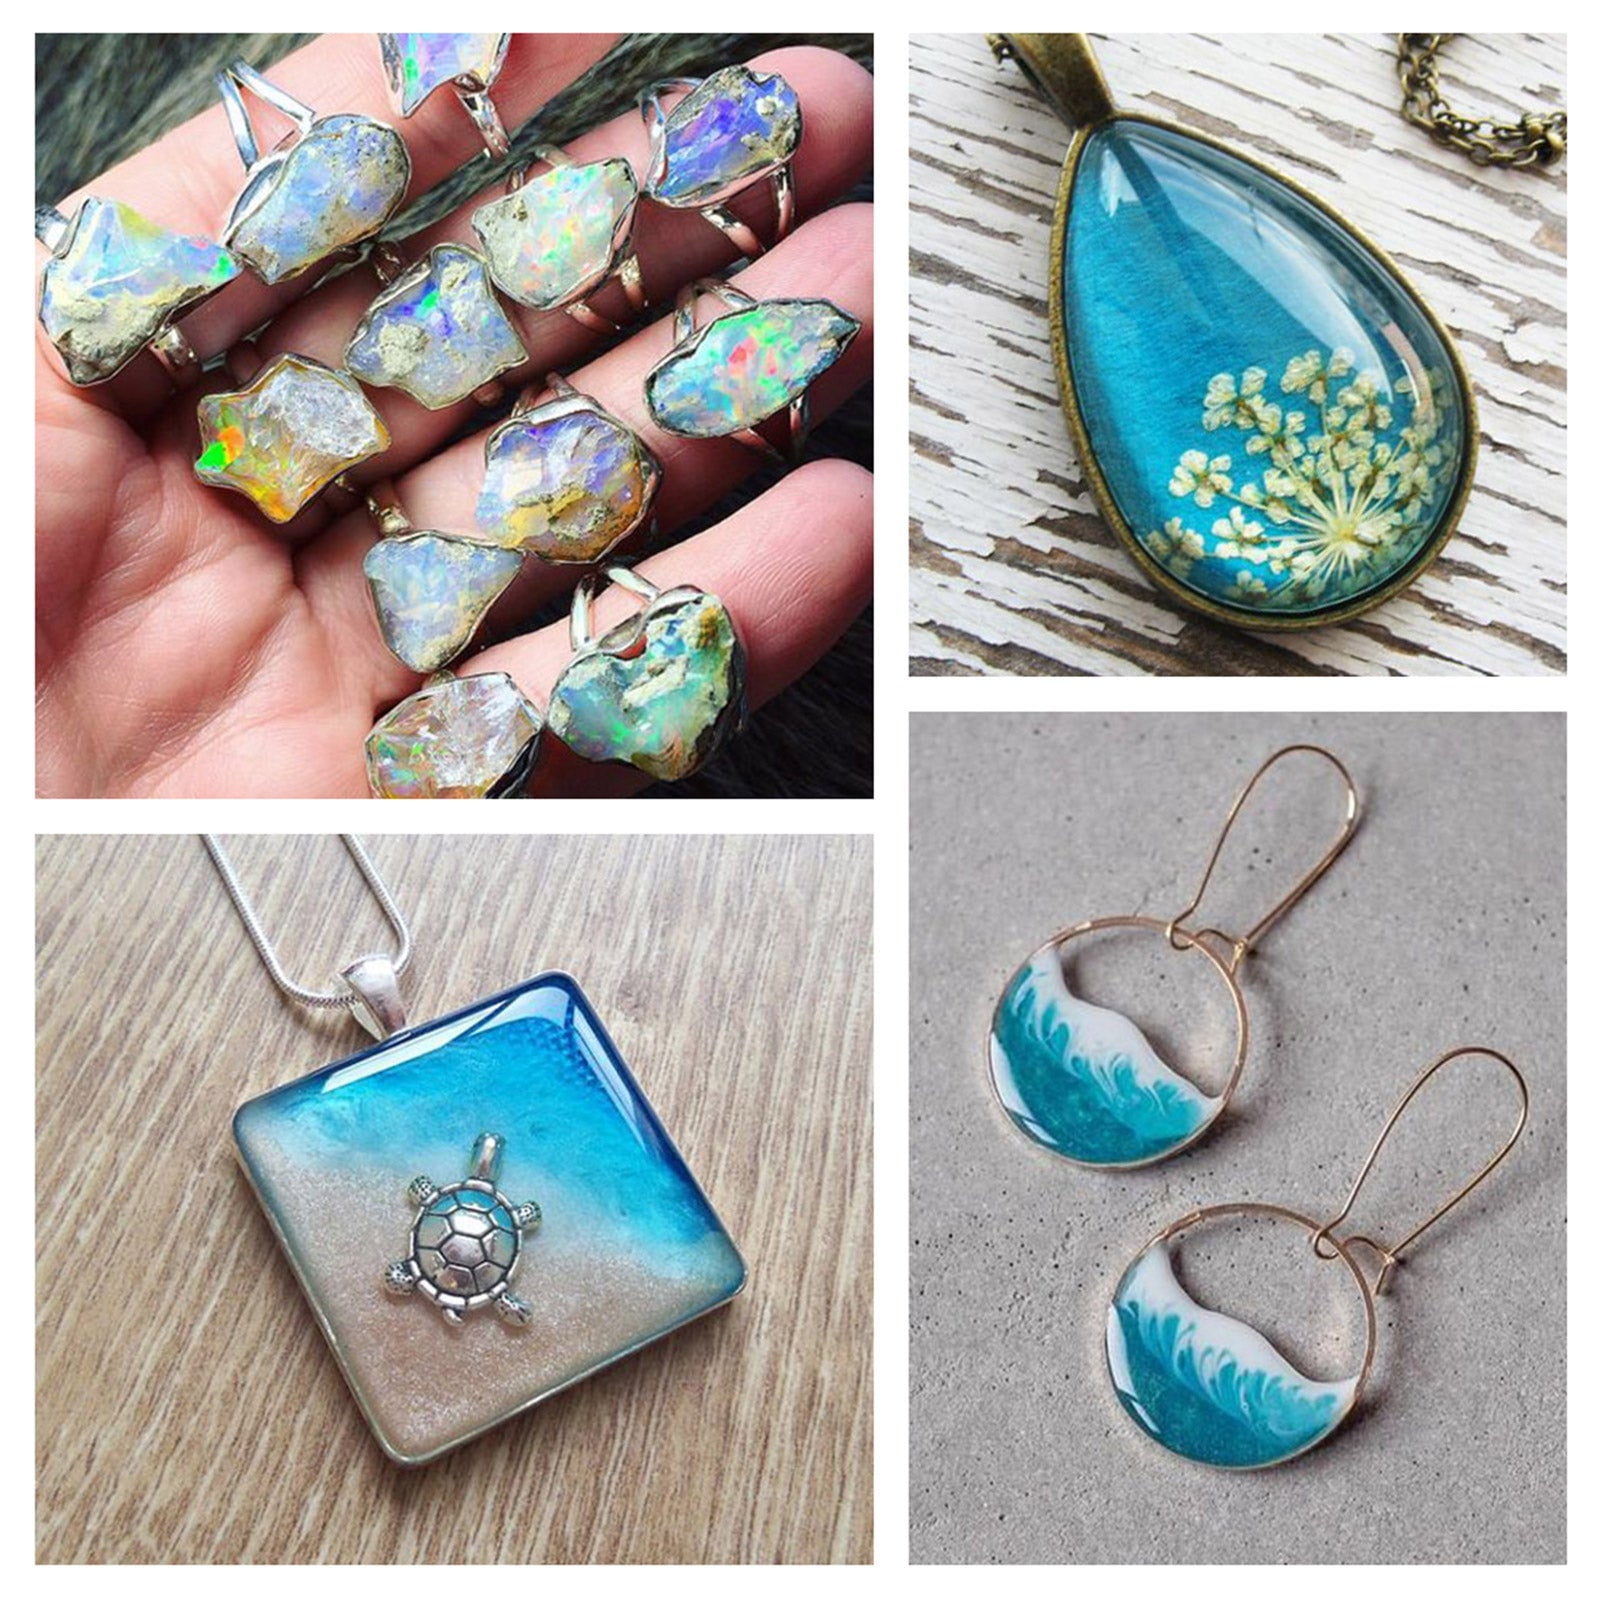
- Additives (optional): If desired, gather any additives or embellishments for your resin, such as pigments, glitters, dried flowers, or beads. These can add unique colors or textures to your jewelry.
- Jewelry Findings: Include jewelry findings such as earring hooks, jump rings, necklace silver chains, or earring posts for assembling your finished resin jewelry pieces. Choose the appropriate findings for the style of jewelry you intend to create.
Tools and Equipment:
- Mixing Tools: Use disposable or silicone measuring cups to mix resin and an assortment of mixing sticks or craft popsicle sticks for thorough blending.
- Heat Gun or Torch: A heat gun or torch can help eliminate air bubbles that may form while pouring resin into the molds.
- Gloves: Wear disposable gloves to protect your hands and prevent fingerprints or oils from transferring onto your resin pieces.
- Safety Gear: Use safety goggles or glasses and a mask in a well-ventilated area to protect yourself from any potential resin fumes and particles.

Measuring and Mixing the Resin
Follow these steps to measure and mix resin properly:
- Read the Instructions: Start by carefully reading and following the manufacturer’s instructions for your specific resin product. Resin brands can have unique guidelines for mixing ratios and curing times.
- Measure the Resin: Pour the appropriate amount of resin and hardener into separate measuring cups, following the instructions for the correct mixing ratio. Use a digital scale or measuring marks on the cups for precise measurements.
- Combine the Resin Components: Pour the measured resin and hardener into a clean mixing cup at the same time. Use a mixing stick to thoroughly blend the components together. Stir slowly and consistently to minimize the introduction of air bubbles.
- Add Color or Additives (Optional): If desired, add pigments, glitters, or other additives to customize the color and appearance of your resin jewelry. Mix them thoroughly with the resin, ensuring they are evenly distributed.
Pouring and Curing the Resin
Now that you have mixed your resin, follow these steps for pouring and curing:
- Prepare the Molds: Place your molds on a flat and level surface, ensuring they are clean and free from dust or dirt. If necessary, apply a mold release spray or a thin layer of petroleum jelly to ease the removal of cured resin.
- Pour the Resin: Slowly pour the mixed resin into the molds, filling them to the desired level. If using multiple colors or layers, pour each layer and allow it to partially cure before adding the next layer.
- Eliminate Air Bubbles: Use a heat gun or torch to eliminate any air bubbles that may have formed in the resin. Hold the heat source several inches above the resin and move it in a circular motion to warm and smooth the surface. The heat will help the bubbles rise and pop.
- Let the Resin Cure: Follow the manufacturer’s instructions for curing time. Place the molds in a cool, dry place, away from direct sunlight or heat sources. Allow the resin to cure undisturbed for the recommended period.
Finishing and Assembling Your Resin Jewelry
Once your resin has fully cured, follow these steps to finish and assemble your jewelry:
- Demold the Resin: Once the resin is fully cured, gently flex or push the mold to release the resin piece. Be careful not to apply excessive force, as it may damage the mold or the resin.
- Clean the Resin Pieces: Clean the cured resin pieces using a soft cloth or sandpaper to remove any sharp edges, rough surfaces, or excess resin. Start with a lower grit sandpaper and work your way up to achieve a smooth and polished finish.
- Attach Jewelry Findings: Use jump rings, earring hooks, or necklace chains to attach the resin pieces to create your desired jewelry designs. Ensure secure closures and connections of findings for durability.
- Finishing Touches: Polish the resin pieces with a jewelry polishing cloth or a resin-specific polishing compound to achieve a glossy finish. You can also add additional embellishments or protective coatings, such as a layer of resin or resin glaze, for extra shine and durability.
Care and Maintenance of Resin Jewelry
To keep your resin jewelry looking its best, follow these care and maintenance tips:
- Avoid Excessive Heat and Sunlight: Resin can be sensitive to prolonged exposure to heat and sunlight. Store your resin jewelry in a cool and dry place and avoid leaving it in direct sunlight or near sources of heat.
- Protect from Chemicals: Avoid exposing your resin jewelry to harsh chemicals, such as cleaning agents, perfumes, or hairspray, as they can damage the resin and its finish.
- Clean Gently: When cleaning resin jewelry, use a soft cloth or a mild soap solution. Avoid using abrasive cleaners or brushes that may scratch or damage the resin.
- Store Properly: Store your resin jewelry in a soft pouch or a separate compartment to prevent scratching or tangling with other jewelry pieces. Avoid placing heavy objects on top of your jewelry to prevent deformation.
Conclusion:
Creating resin jewelry is an enjoyable and creative process that allows you to make unique and personalized pieces. By following the steps outlined in this guide, you can mix, pour, cure, and finish resin to create beautiful jewelry designs. Whether you’re a beginner or an experienced crafter, experimenting with different colors, molds, and techniques can lead to truly one-of-a-kind pieces. With proper care, your resin jewelry will be cherished for its beauty and artistry for years to come.