Getting Started with Jewelry Making
Jewelry making offers a rewarding and creative outlet for beginners. This hobby allows for self-expression and the creation of unique, personalized accessories. Starting with basic techniques and simple projects builds confidence. Experimenting with different materials and styles helps develop skills over time. Beginners should focus on mastering fundamental techniques before moving to complex designs. With practice, anyone can create beautiful, wearable art. How to make jewelry for beginners?This guide covers essential tools, materials, and techniques for aspiring jewelry makers.
Essential Tools and Materials
Before getting started, gather the following materials and tools:
- Jewelry-making pliers (round nose, flat nose, and wire cutters)
- Beads (various types, colors, and sizes)
- Jewelry wire or stringing material (such as nylon cord, leather, or elastic)
- Clasps and findings (such as jump rings, crimp beads, and lobster clasps)
- Jewelry charms or pendants (optional)
- Beading mat or towel
- Jewelry glue or adhesive (optional)
- Bead scoop or tweezers (optional)
Every jewelry maker needs a basic toolkit to get started. Essential tools include round-nose pliers, chain-nose pliers, and wire cutters. These tools allow for manipulating wire, opening and closing jump rings, and creating loops. A ruler or measuring tape helps ensure accurate sizing. Beading mats or trays keep small components organized during projects. Beginners should invest in quality tools that feel comfortable to use. Additional tools like crimping pliers, bead reamers, or mandrels can be added as skills progress. For materials, start with beading wire, clasps, jump rings, and an assortment of beads. Choose materials based on personal style preferences and project requirements. Metal wire, cords, and threads offer versatile options for various jewelry types. Exploring different materials helps discover favorite techniques and styles.
Plan Your Design:
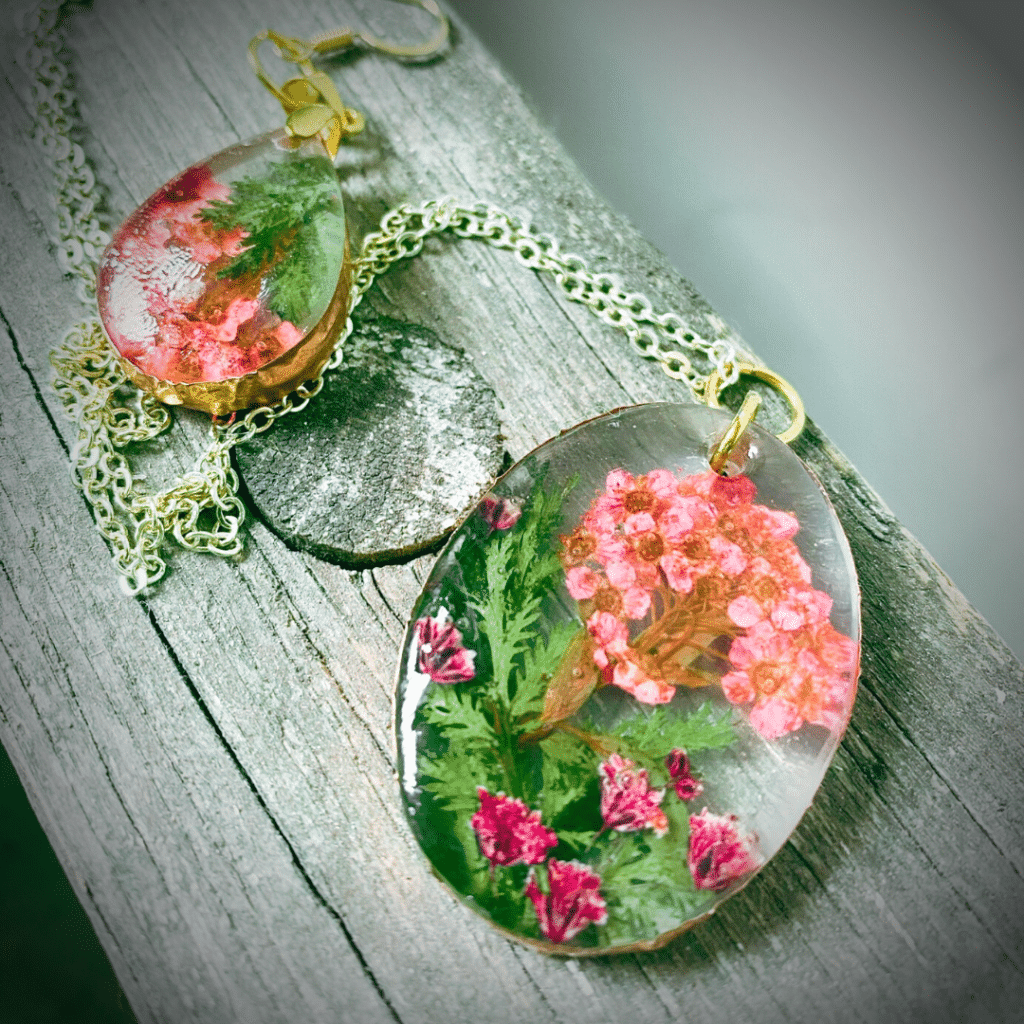
Before starting your resin jewelry, it’s helpful to plan the design and gather inspiration. Consider the type of jewelry you want to create (e.g., earrings, bracelets, necklaces) and the overall style or theme you want to achieve. Browse through jewelry-making magazines, online platforms, or visit local craft stores for inspiration and ideas. Sketch or write down your design plan to guide you throughout the process.
Choose Your Materials:
Selecting the right materials is an essential step in jewelry making. Choose beads that match your design vision and consider factors such as size, shape, color, and material. Beads come in a wide range of materials, including glass, metal, gemstones, wood, and more. Experiment with different combinations to create unique and personalized pieces. Additionally, choose suitable stringing material or jewelry wire that complements your design and fits the purpose of the jewelry.
Simple Projects to Build Skills
Begin with straightforward projects to apply newly learned techniques. Start by creating a simple beaded bracelet or necklace. This project teaches proper stringing and clasp attachment. Move on to basic earrings, experimenting with different bead combinations and wire loops. Try making a wire-wrapped pendant using a polished stone or sea glass. Create stackable rings using wire-wrapping techniques. Attempt a multi-strand necklace to practice working with multiple components. Each project builds upon previous skills while introducing new challenges. Keep designs simple at first, focusing on clean execution and proper technique. As confidence grows, incorporate more complex elements into projects. Document progress through photos to see improvement over time.
Basic Jewelry-Making Techniques:
As a beginner, it’s helpful to become familiar with basic jewelry-making techniques. Here are a few essential techniques to get you started:
- Stringing: Stringing is the process of threading beads onto a string or wire to create a design. Measure and cut the desired length of stringing material, add beads, and secure the ends with clasps or knots. Consider using crimp beads or bead tips for a professional and secure finish.
- Wire Wrapping: Wire wrapping involves creating decorative loops, coils, or other shapes using jewelry wire. This technique is commonly used to create earrings, pendants, and charms. Learn how to make basic wire loops and wrap beads or gemstones to create unique dangles or links.
- Bead Knotting: Bead knotting is often used for stringing pearls or beads with larger holes. This technique involves tying a knot between each bead to prevent them from rubbing against each other and reduce the risk of loss if the string breaks. Learn how to tie secure knots and use tweezers or bead scoops for easier knotting.
- Working with Findings: Findings are components used to connect, finish, or secure gold jewelry. Learn how to open and close jump rings, attach clasps, and use crimp beads or bead tips to secure stringing material or wire.
Jewelry Assembly:
Once you have become familiar with basic techniques, it’s time to assemble your jewelry pieces. Follow these steps for jewelry assembly:
- Lay out your beads and findings on a beading mat or towel to organize them and prevent them from rolling away.
- Follow your design plan and start threading or wire wrapping the beads. Consider the spacing, color patterns, and placement of charms or pendants.
- Use pliers to open and close jump rings, attach clasps, or secure findings. Be careful not to apply excessive force to prevent damage.
- Double-check the length, symmetry, and overall appearance of your jewelry piece as you assemble it. Make adjustments if necessary.
Finishing Touches:
Once the assembly is complete, it’s important to give your jewelry a final touch to enhance its durability and aesthetics. Consider the following finishing touches:
- Use wire cutters or scissors to trim excess wire or stringing material, making sure there are no loose ends or sharp edges.
- Inspect the jewelry for any loose beads, findings, or knots. Make any necessary adjustments or apply a small amount of jewelry glue or adhesive to secure them in place.
- Polish or buff metal components with a jewelry polishing cloth to enhance their shine and remove any tarnish.
Congratulations! You have successfully made your own jewelry. Admire your creations and enjoy wearing them or gifting them to others. Share your work with friends, family, or through social media platforms to gain feedback and inspiration for future projects. Continue to learn and explore new techniques and materials to expand your jewelry-making skills.
Advantages of jewelry for beginners
Jewelry making is a popular hobby that offers numerous advantages for beginners. Whether you have a passion for creativity, a desire for self-expression, or simply enjoy working with your hands, jewelry making can be a fulfilling and enjoyable activity.
Creative Outlet:
Jewelry making provides a creative outlet for beginners to express their unique style and personality. It offers the opportunity to design and create one-of-a-kind pieces that reflect individual preferences and artistic vision. From choosing the materials, colors, and textures, to assembling and arranging the beads or components, each step in jewelry making allows beginners to exercise their creativity and imagination. This creative process can be incredibly satisfying and empowering, providing a sense of accomplishment and personal fulfillment.
Personalized Accessories:
One of the major advantages of jewelry making is the ability to personalize accessories. Rather than settling for mass-produced jewelry, beginners can design and create jewelry pieces that perfectly match their taste, wardrobe, or even their mood. Jewelry making allows individuals to customize every aspect of the design, from selecting the materials and colors to incorporating meaningful charms or pendants. This personalization adds a unique touch to the accessories, reflecting the individuality and style of the wearer.
Cost-Effective:
Jewelry making can be a cost-effective way to create beautiful accessories. Compared to purchasing ready-made jewelry, making your own pieces allows you to control the cost by choosing materials that suit your budget. Beginners can start with budget-friendly materials such as glass beads, acrylic beads, or base metal findings, and gradually explore more luxurious materials as their skills and confidence grow. Additionally, making jewelry at home eliminates the need for expensive machinery or tools, enabling beginners to craft their accessories with minimal investment.
From Hobby to Business: Next Steps
Many jewelry makers transition from hobbyists to small business owners. Begin by perfecting a signature style or product line. Develop a cohesive brand identity that reflects personal aesthetic. Research local regulations for selling handmade goods. Set up a dedicated workspace for increased productivity. Invest in packaging materials that protect pieces and enhance presentation. Create a pricing strategy that covers costs and values time and skill. Explore selling options like craft fairs, online platforms, or consignment in local shops. Build an online presence through social media and a website. Network with other makers and potential customers. Consider offering custom work or teaching classes as additional income streams. Stay organized with inventory and financial records from the start.
Conclusion:
Jewelry making is an exciting and rewarding hobby that allows you to unleash your creativity and create unique, wearable art. As a beginner, mastering basic techniques and selecting the right materials are essential for successful jewelry making. By following the step-by-step process outlined in this guide, you can create beautiful and personalized jewelry pieces to adorn yourself or give as thoughtful gifts. Remember to practice, experiment, and most importantly, have fun as you embark on your jewelry-making journey.


