Introduction
How to make clay jewelry? Clay jewelry is a versatile and customizable form of wearable art. With just a few simple tools and some creativity, you can design and create unique clay jewelry pieces that express your personal style. Whether you’re a beginner or an experienced crafter, this step-by-step guide will walk you through the process of making clay jewelry. From selecting the right clay to baking and finishing techniques, let’s dive into the world of clay jewelry-making and unleash your creativity.
Materials and Tools Needed:
Before we begin, gather the following materials and tools:
- Polymer clay in your desired colors
- Clay conditioning machine or rolling pin
- Shape cutters or craft knives
- Sanding tools (sandpaper or sanding blocks)
- Baking tray and oven (or a dedicated clay oven)
- Clear varnish or glaze
- Jewelry findings (jump rings, earring hooks, link chain, etc.)
- Pliers and jewelry-making tools
- Optional: embellishments, beads, or rhinestones for decoration
Advanced Clay Jewelry Techniques
As skills improve, more advanced techniques open up new creative possibilities. Mokume gane, a Japanese metalworking technique adapted for clay, creates stunning layered patterns. Mica shift techniques produce subtle, shimmering designs within the clay. Faux dichroic effects mimic the appearance of dichroic glass using clay and foils. Millefiori canes allow for intricate, repeatable designs inspired by Venetian glasswork. Surface treatments like mica powders, alcohol inks, and paints add color and shine to finished pieces. Incorporating mixed media elements like wire, fabric, or found objects expands design possibilities. These advanced techniques elevate clay jewelry from simple crafts to wearable art.
Baking and Finishing Clay Jewelry
Proper baking and finishing transform raw clay creations into durable jewelry pieces. Follow the clay manufacturer’s instructions for baking temperature and time. Use an oven thermometer to ensure accurate temperature control. Bake clay pieces on a ceramic tile or dedicated baking sheet. Allow baked pieces to cool completely before handling. Sand any rough edges with fine-grit sandpaper for a smooth finish. Apply a clear glaze or varnish to add shine and protect the surface. Attach jewelry findings like earring hooks or necklace chains to complete the pieces. Proper baking and finishing ensure that clay jewelry withstands regular wear and maintains its beauty over time.
Selection and Conditioning of Clay:
Choose a type of polymer clay suitable for jewelry-making. Polymer clay comes in various brands and colors. Soften and condition the clay by kneading it in your hands or using a clay conditioning machine until it becomes pliable and easy to work with.
Shaping and Cutting:
Roll out the conditioned clay to the desired thickness using a rolling pin or a clay conditioning machine. Use shape cutters or craft knives to cut out different shapes and designs for your jewelry for beginners. Experiment with various shapes such as circles, squares, or intricate patterns for more artistic creations.

Creating Texture and Design:
Enhance your clay jewelry pieces by adding texture and design details. You can impress textures into the clay using stamps, texture sheets, or by gently pressing objects with interesting patterns onto the clay surface. Experiment with different techniques to achieve a unique and personalized look.
Baking the Clay:
Follow the manufacturer’s instructions to bake your clay jewelry pieces in the oven or a dedicated clay oven. Place them on a baking tray lined with parchment paper or aluminum foil. Bake at the recommended temperature and duration, usually around 275°F (130°C) for 15-30 minutes. Allow the clay to cool completely before handling.
Sanding and Smoothing:
Once the clay pieces have cooled, use sandpaper or sanding blocks to smooth out any rough edges, imperfections, or fingerprints. Work through different grits of sandpaper, starting with a coarser one and gradually moving to a finer grit for a polished finish. Wipe away any dust or residue.
Varnishing or Glazing:
To give your clay jewelry a glossy and professional finish, apply a layer of clear varnish or glaze. Follow the instructions on the varnish or glaze bottle and allow the jewelry pieces to dry and harden. This step will also help to protect and seal the clay surface.
Attaching Findings and Assembling:
Using pliers and jewelry-making tools, attach jump rings, earring hooks, gold chain, or any other findings to your clay jewelry pieces. Be sure to securely close the jump rings to prevent any accidental breakage. Experiment with different combinations and arrangements to create one-of-a-kind jewelry designs.
Adding Embellishments (Optional):
For added flair and personalization, consider decorating your clay jewelry pieces with embellishments like beads, rhinestones, or crystals. You can attach them using jewelry glue or embed them directly into the clay while it is still soft. Get creative and experiment with different materials to achieve the desired look.
Final Touches and Inspection:
Carefully inspect your clay jewelry pieces for any imperfections or flaws. Make any necessary adjustments, such as smoothing rough spots or adding additional varnish or glaze for even coverage and shine.
Enjoy and Wear:
Your jewelry pieces are now ready to be worn and admired! Show off your creations with pride and enjoy the compliments you receive on your unique and handcrafted jewelry designs.
What are the styles of clay jewelry
Clay jewelry has gained popularity for its versatility, creativity, and unique handmade appeal. With clay as the medium, jewelry artisans can create a wide range of styles, from minimalistic and modern to bohemian and intricate designs.
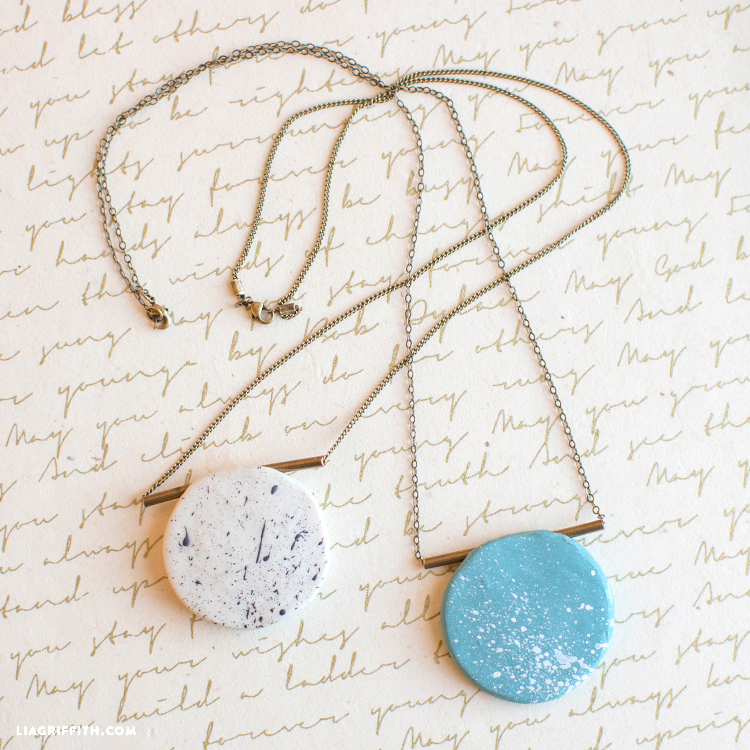
Minimalistic and Geometric:
Minimalistic clay jewelry embraces simplicity and clean lines. Geometric shapes such as circles, squares, triangles, and rectangles are popular in this style. Minimalistic designs often feature solid-colored clay, smooth textures, and polished finishes, allowing the shape and silhouette to take center stage. This style is ideal for those who appreciate understated and modern aesthetics.
Nature-Inspired:
Nature-inspired jewelry captures the beauty and essence found in plants, flowers, leaves, and other natural elements. Designs in this style often feature intricate details and textures that emulate the organic patterns found in nature. Artists use techniques such as carving, imprinting, or hand-painting to create lifelike representations of flora and fauna. Nature-inspired jewelry is popular among those seeking a connection with the natural world.
Bohemian and Tribal:
Bohemian jewelry embodies a free-spirited, boho-chic aesthetic with its unconventional shapes, earthy tones, and eclectic designs. This style often utilizes organic shapes, such as feathers, dreamcatchers, mandalas, or tribal motifs. Hand-painted patterns and intricate textures add depth and visual interest to the clay pieces. Bohemian jewelry is perfect for those who embrace a carefree and artistic mindset.
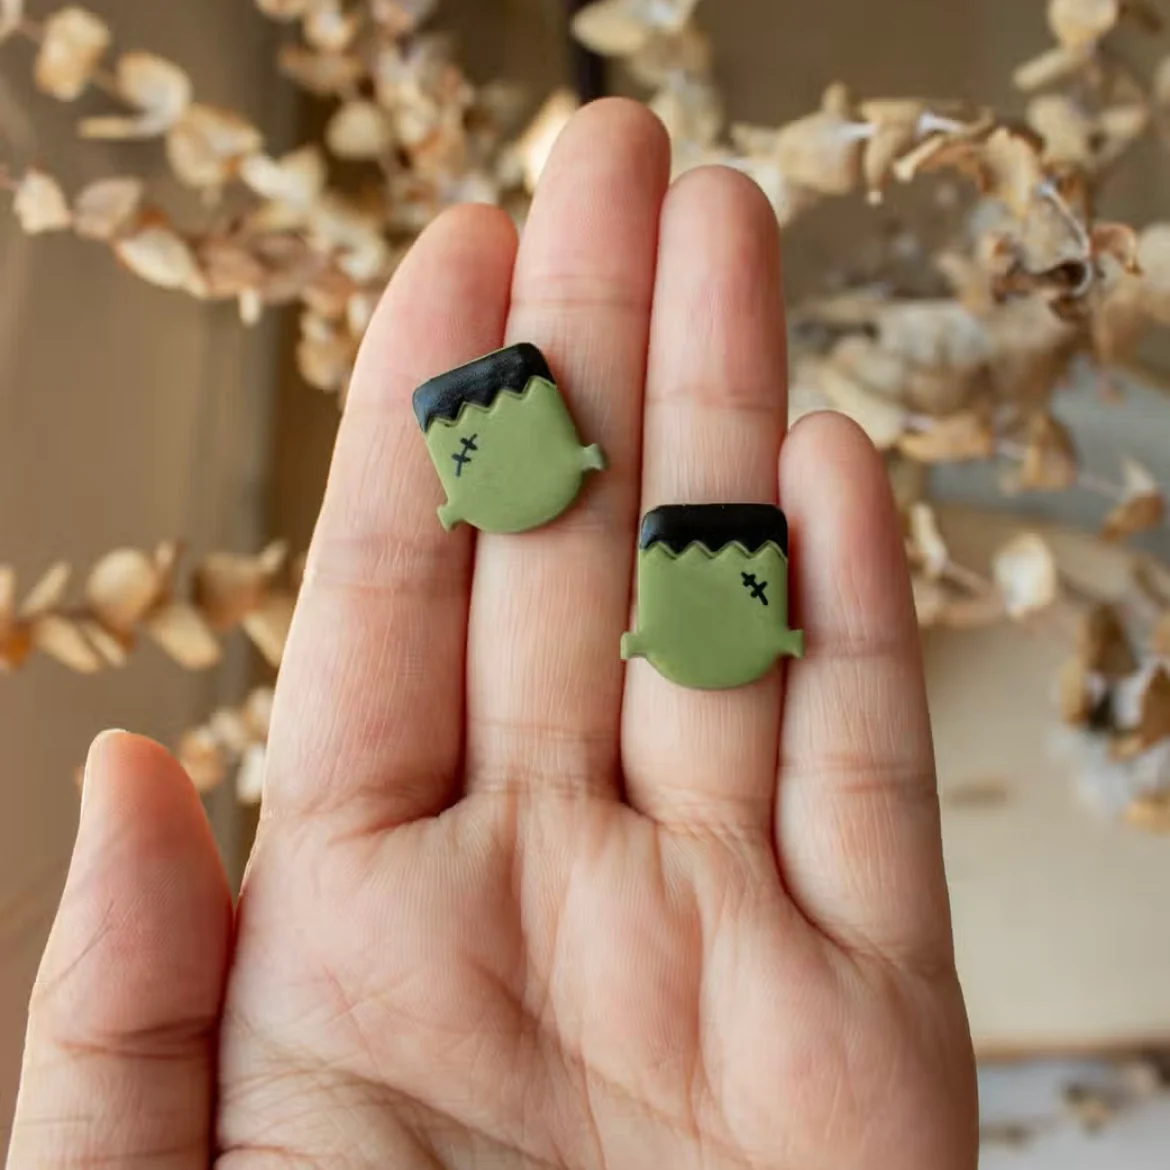
Sculptural and Artistic:
Sculptural jewelry pushes the boundaries of traditional jewelry design by incorporating three-dimensional forms and unconventional shapes. Artists in this style sculpt clay into unique, abstract, or figurative shapes, creating wearable works of art. Sculptural jewelry often showcases craftsmanship and creativity, making it highly sought after by art enthusiasts.
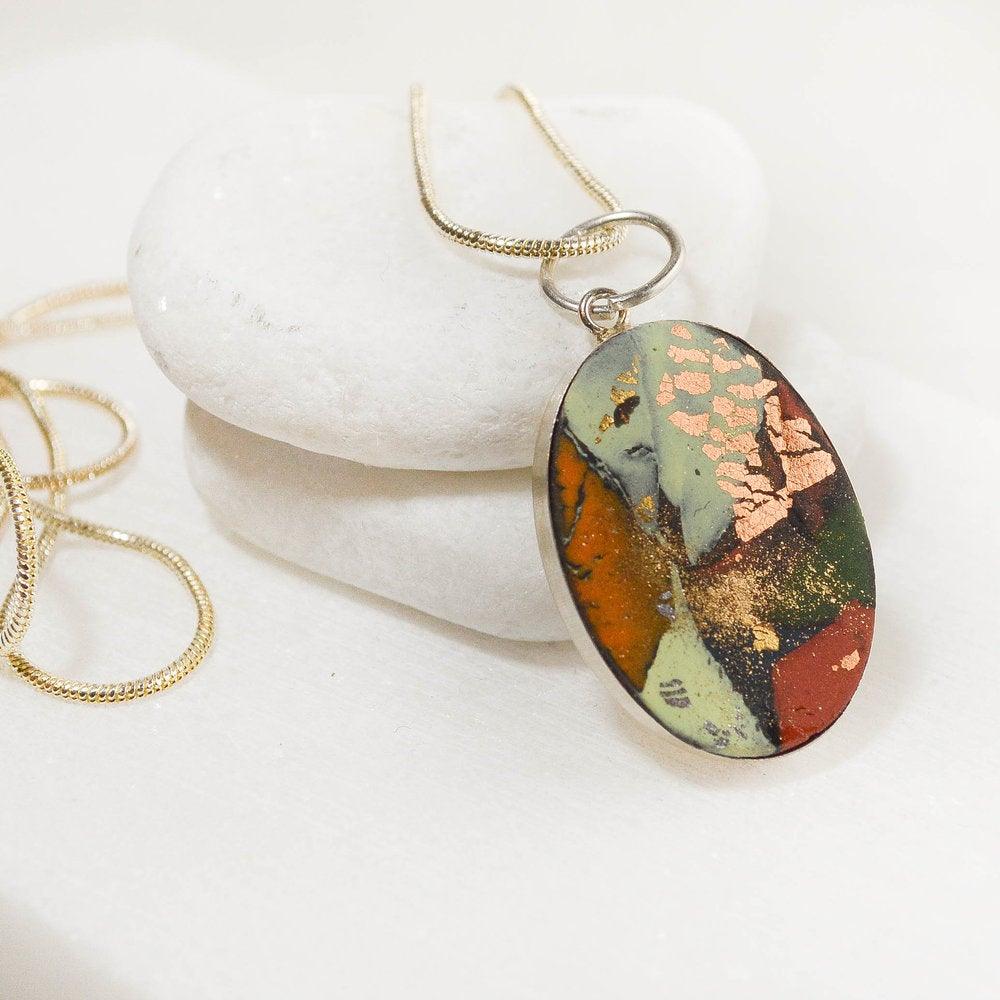
Textured and Patterned:
Textured and patterned clay jewelry adds visual and tactile interest to designs. Artists achieve these effects through techniques such as imprinting, embossing, carving, or adding surface decorations. Textured clay pieces can feature geometric patterns, floral motifs, abstract designs, or intricate textures like faux stone or wood grain. This style appeals to those who appreciate depth and texture in their jewelry.
Mosaic and Inlay:
Mosaic and inlay clay jewelry showcase intricate patterns and designs created by assembling small, hand-cut clay pieces into a larger composition. Artists arrange the clay fragments to form geometric, floral, or abstract designs, then gently press them together to create a seamless surface. The result is a stunning mosaic or inlay pattern reminiscent of traditional craftsmanship.

Tips for Developing Your Craft
Consistency is key in developing jewelry-making skills. Set aside regular time for practice and experimentation. Start a inspiration notebook or digital board to collect design ideas. Study professional jewelry pieces to understand construction and design principles. Join online communities or local groups to connect with other makers. Share work and seek constructive feedback to improve techniques. Invest in good-quality tools and materials as skills advance. Take classes or workshops to learn from experienced artisans. Participate in craft fairs or online marketplaces to gain exposure and feedback. Stay current with jewelry trends while developing a unique style. Continuously challenge yourself with new techniques and more complex projects.
Conclusion:
Making clay jewelry is a rewarding and enjoyable craft that allows you to express your creativity and style. By following these step-by-step instructions, you can create beautiful and personalized clay jewelry pieces that reflect your individuality. From selecting the right clay to shaping, baking, and finishing techniques, the possibilities for clay jewelry-making are endless. So, gather your materials, let your imagination run wild, and start creating your own stunning clay jewelry today!