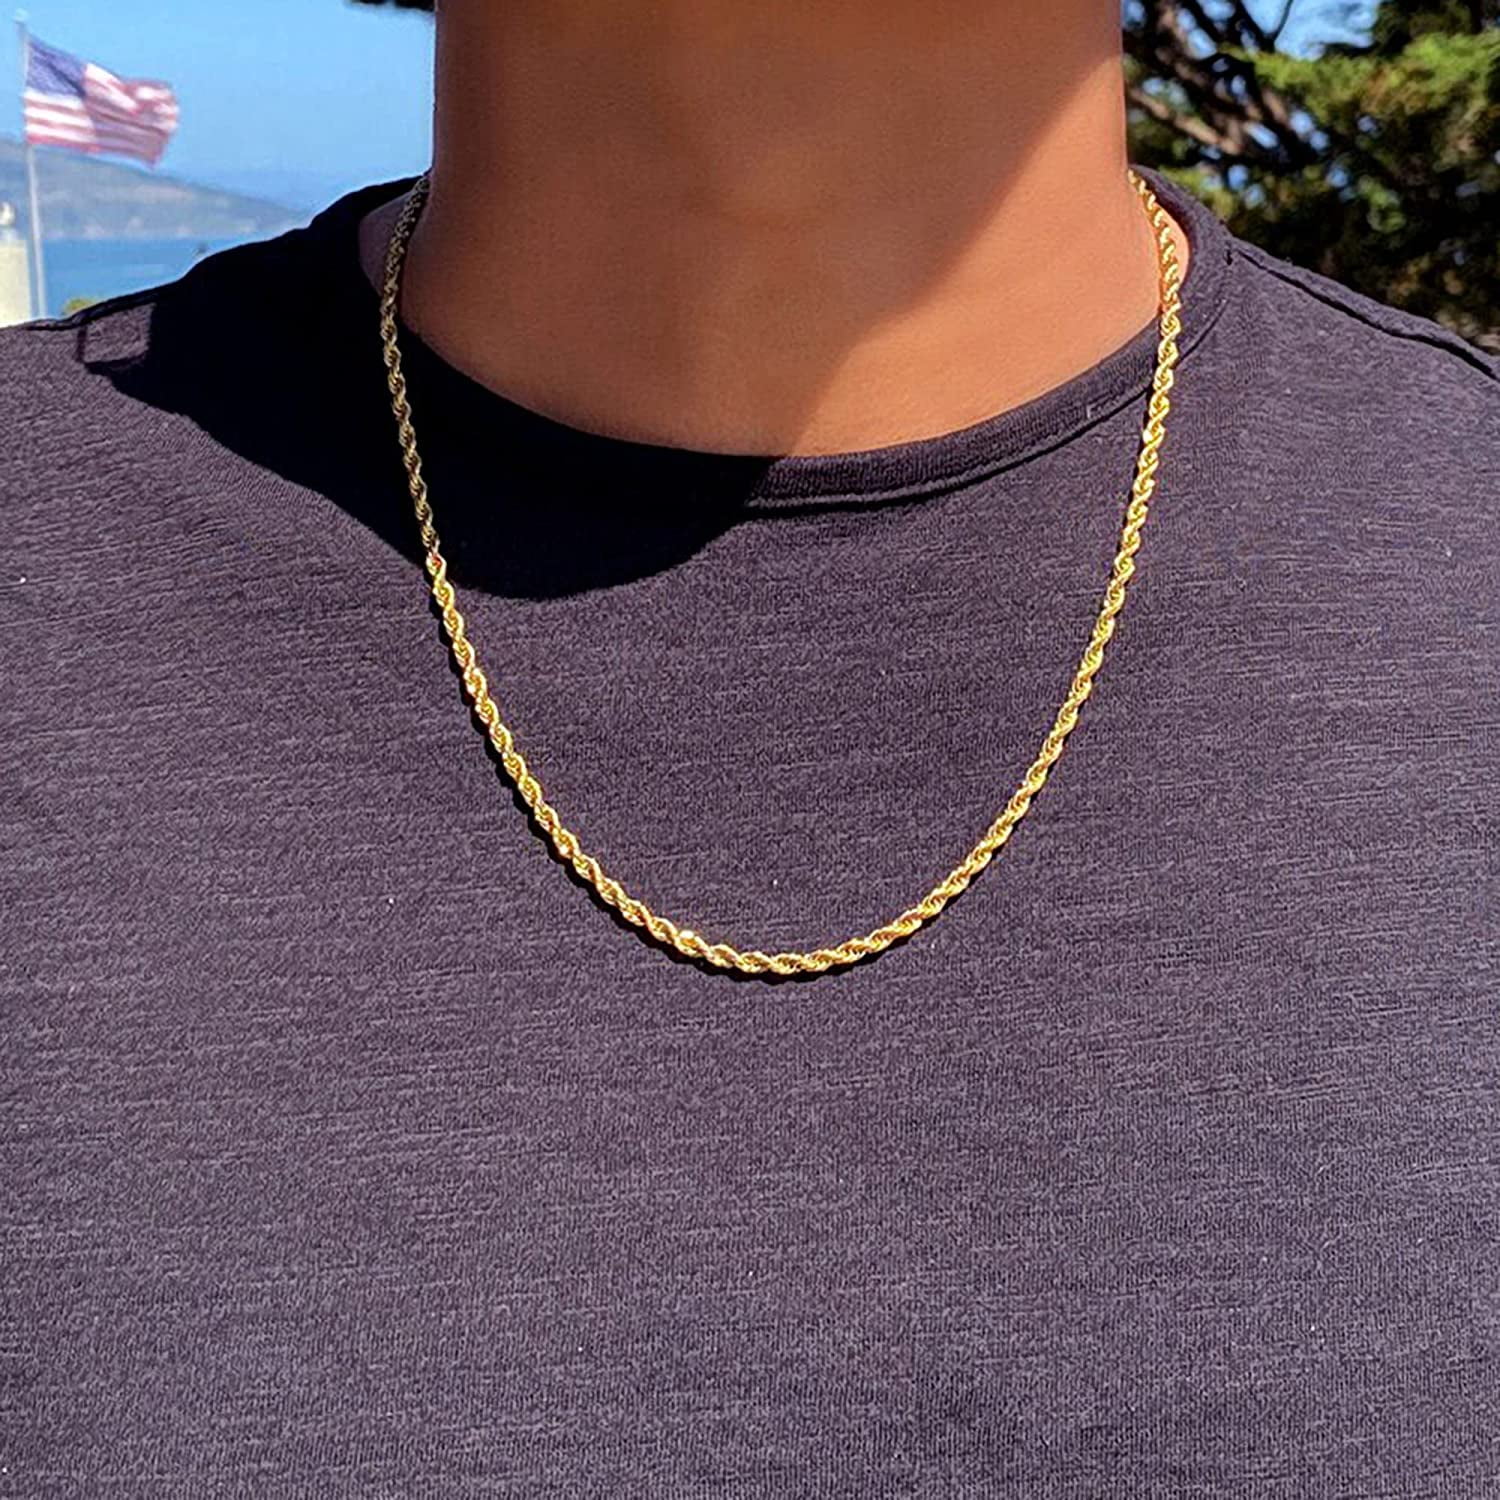
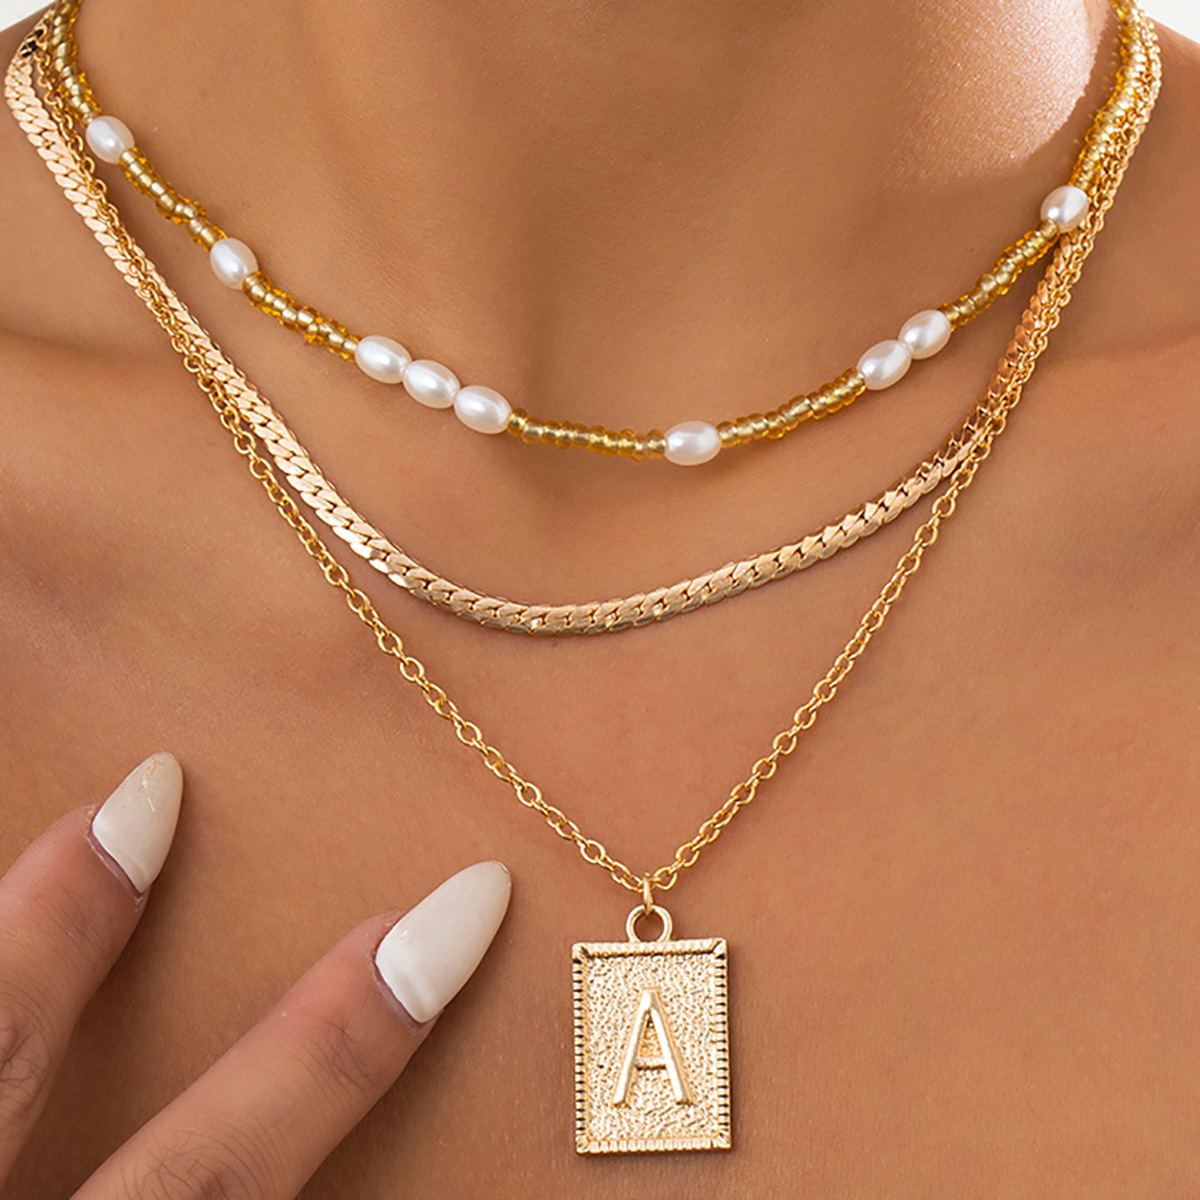
How to fix necklace chain? Necklaces are often treasured pieces of jewelry that can add a touch of elegance and personal style to any outfit. However, necklace chains are prone to wear and tear, including link breakage, kinks, or clasps becoming loose or damaged. Knowing how to fix common necklace chain issues can help you preserve and extend the lifespan of your favorite necklaces. In this guide, we will provide a step-by-step process for fixing necklace chains, from repairing broken links to replacing clasps.

Materials Needed:
- Pliers (needle-nose and round-nose)
- Jump rings (matching size and metal type)
- Clasp (matching style and metal type)
- Wire cutter
- Jewelry glue (optional)
- Jewelry polishing cloth (for cleaning)
- Jewelry findings (if required for specific repair)
Assess the Chain Damage:
Examine the necklace chain carefully to identify the specific issue. Common problems include broken links, kinks, or a damaged clasp. Understanding the extent of the damage will help determine the appropriate repair technique.
Repairing Broken Chain Links:
If the chain has a broken link, follow these steps to repair it:
- Use pliers to gently twist open an adjacent jump ring on the chain.
- Thread the broken link onto the open jump ring.
- Align the broken link and reattach it by closing the jump ring using the pliers. Ensure the jump ring is securely closed.
Fixing Kinks:
To correct kinks in a necklace chain, follow these steps:
- Lay the chain on a flat surface and identify the area with the kink.
- Gently apply pressure with your fingers or pliers to straighten out the kink. Work slowly to avoid causing additional damage.
- If the kink persists, use a pair of needle-nose pliers to grip the sides of the kink and gently flex it in the opposite direction until the chain straightens.
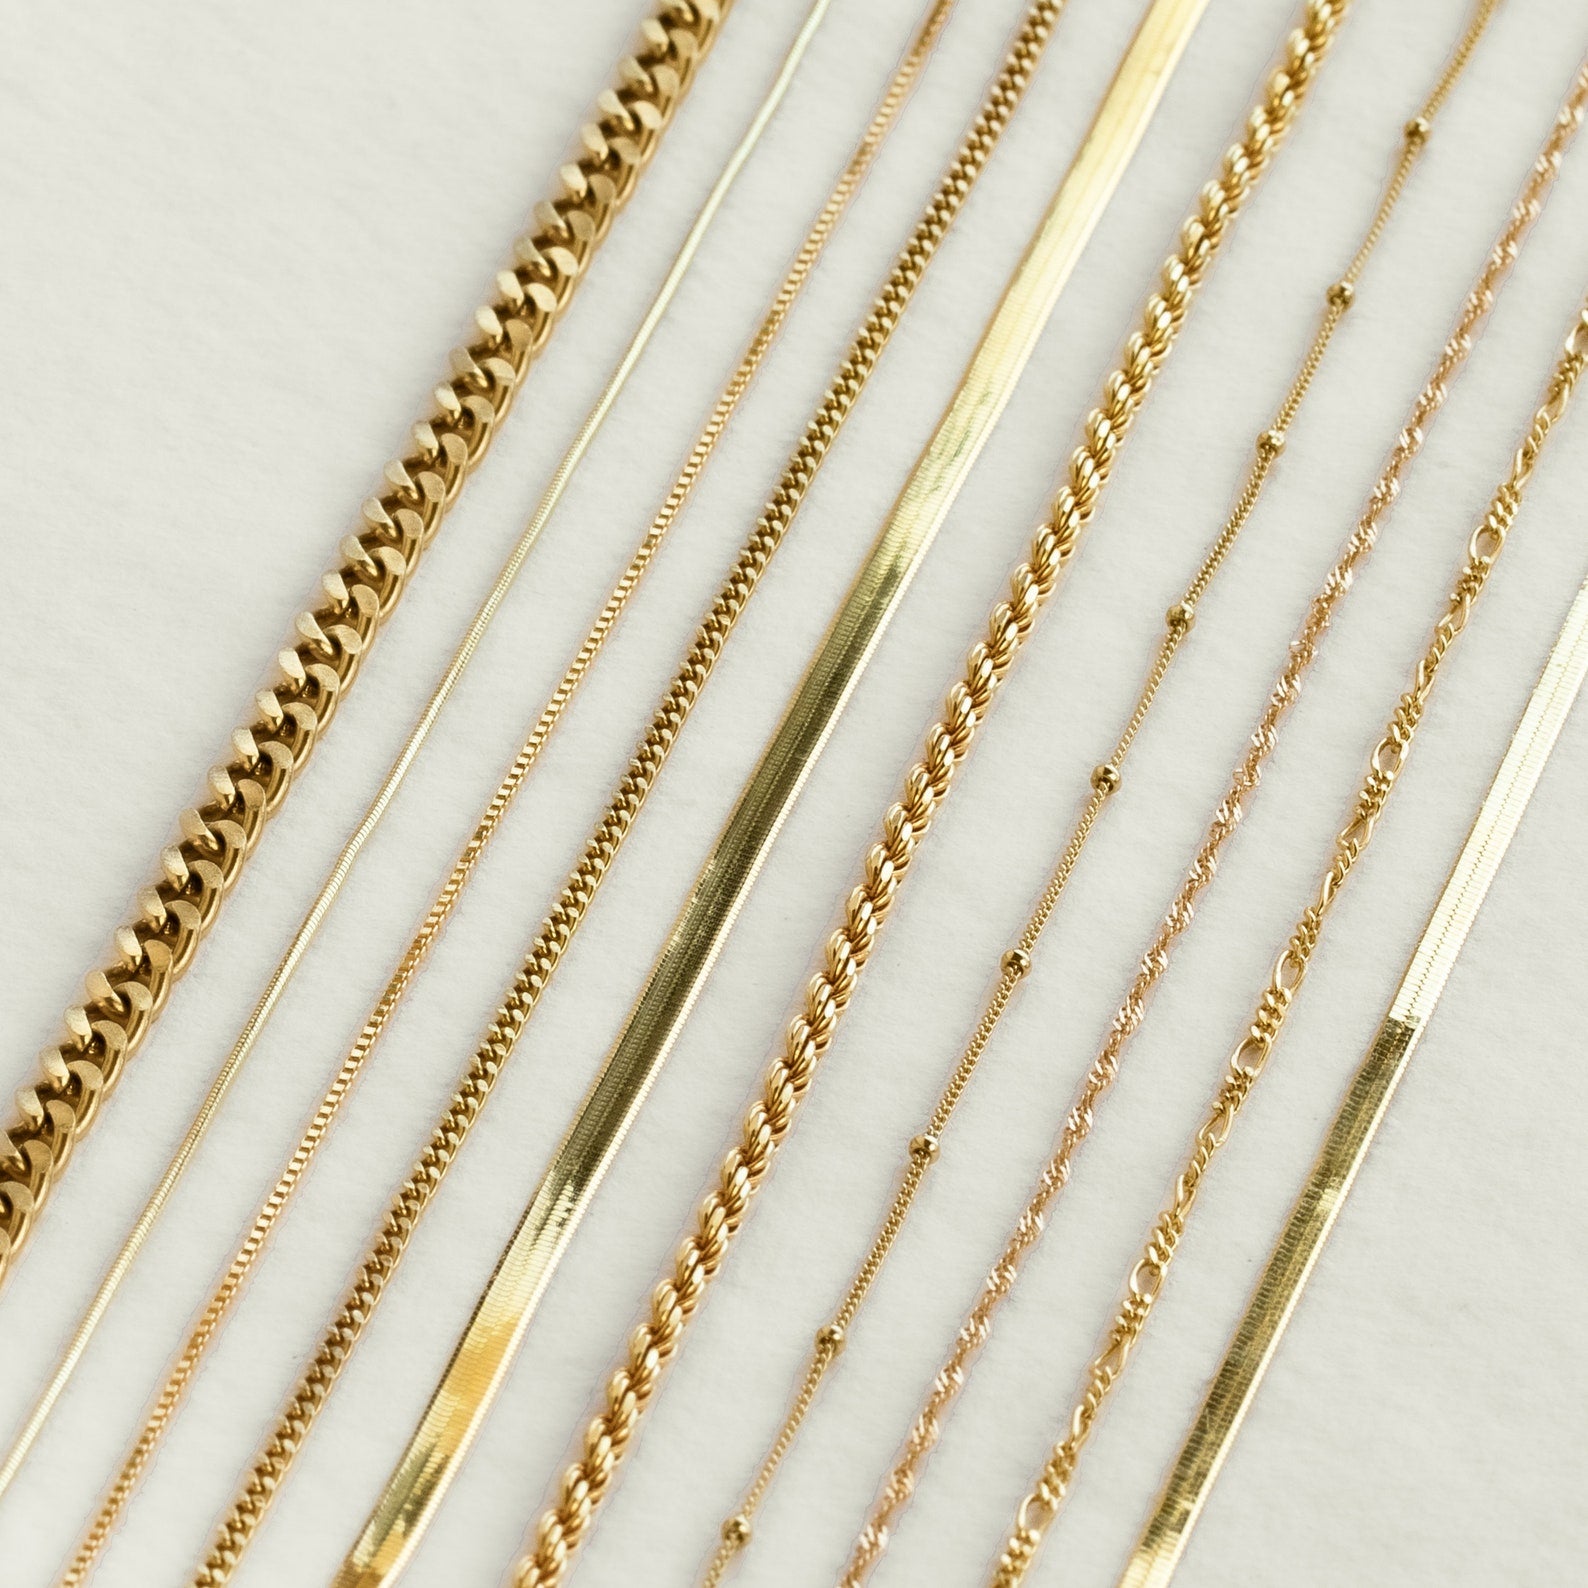
Replacing a Damaged Clasp:
If the clasp is broken or damaged, you can replace it. Follow these steps:
- Use wire cutters to cut the damaged clasp off the diamond chain. Take care to make a clean and even cut, close to the ends of the chain.
- Measure the length needed for the replacement clasp, ensuring it matches the original length.
- Open the end links of the chain using needle-nose pliers and attach the replacement clasp by sliding it onto the open links.
- Close the end links using pliers to secure the clasp in place.
Extra Tips for Chain Repairs:
- Some chains may have soldered links, which cannot be repaired in the same way as regular links. In these cases, it is best to consult a professional jeweler for repair.
- If the chain is made of a precious metal and has a minor break, a jeweler may be able to solder the link for a secure repair.
- For delicate chains or chains made of more delicate materials, such as thin gold or silver, it may be necessary to replace the damaged chain section entirely.
Finishing Touches:
- After making the necessary repairs, gently polish the necklace chain using a jewelry polishing cloth to restore its shine.
- If required, use jewelry glue to secure any loose jump rings or clasps. Ensure the glue is suitable for the type of metal used in the chain.
The best way to clean necklace chain
Necklace chains are prone to accumulating dirt, oils, and debris over time, causing them to lose their luster and tarnish. Proper cleaning and maintenance are essential to preserve the beauty and longevity of your necklace chain. However, different types of metal require specific cleaning methods to avoid damage.
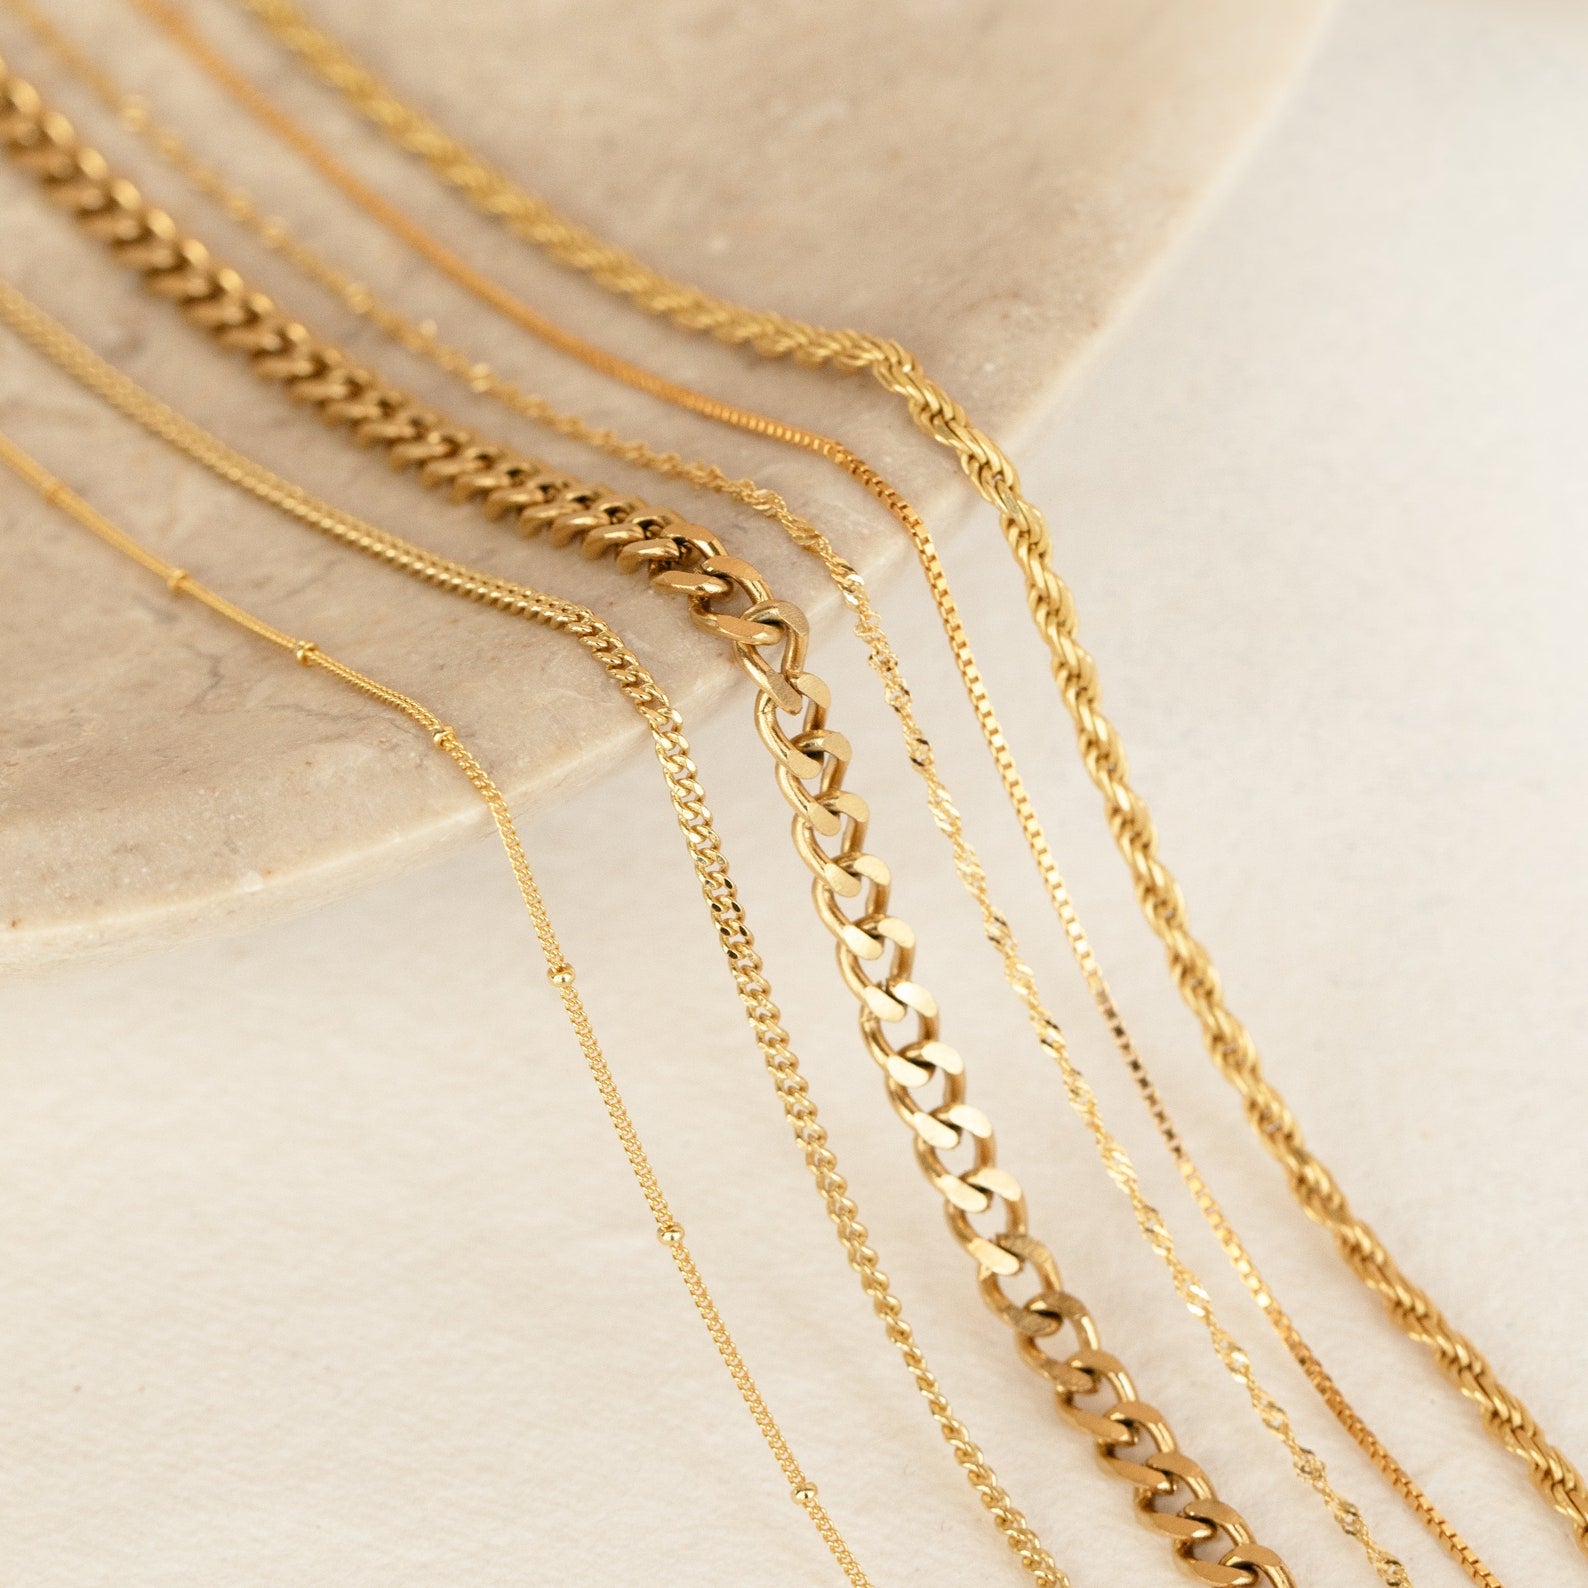
Before Cleaning:
Before cleaning your necklace chain, it is important to consider a few factors:
- Remove any charms or pendants attached to the chain: Cleaning them separately avoids potential damage.
- Inspect the chain for weak or damaged links: If you notice any issues, consider contacting a professional jeweler for assistance.
- Ensure the chain does not contain gemstones: Gemstones may require specific cleaning methods, so it is crucial to consult a jeweler or refer to manufacturer instructions in such cases.
Cleaning Gold or Gold-Filled Chains:
Gold and gold-filled types of necklaces can maintain their shine with regular cleaning. Follow these steps:
- Prepare a cleaning solution by mixing a few drops of mild dish soap with warm water.
- Submerge the gold or gold-filled chain in the solution for a few minutes.
- Gently scrub the chain with a soft-bristle toothbrush to remove any dirt or residue. Pay close attention to hard-to-reach areas.
- Rinse the chain under warm running water to remove the soapy residue.
- Dry the chain with a clean, soft cloth, ensuring it is completely dry before wearing or storing.
- For additional shine, you may use a jewelry polishing cloth specifically designed for gold.
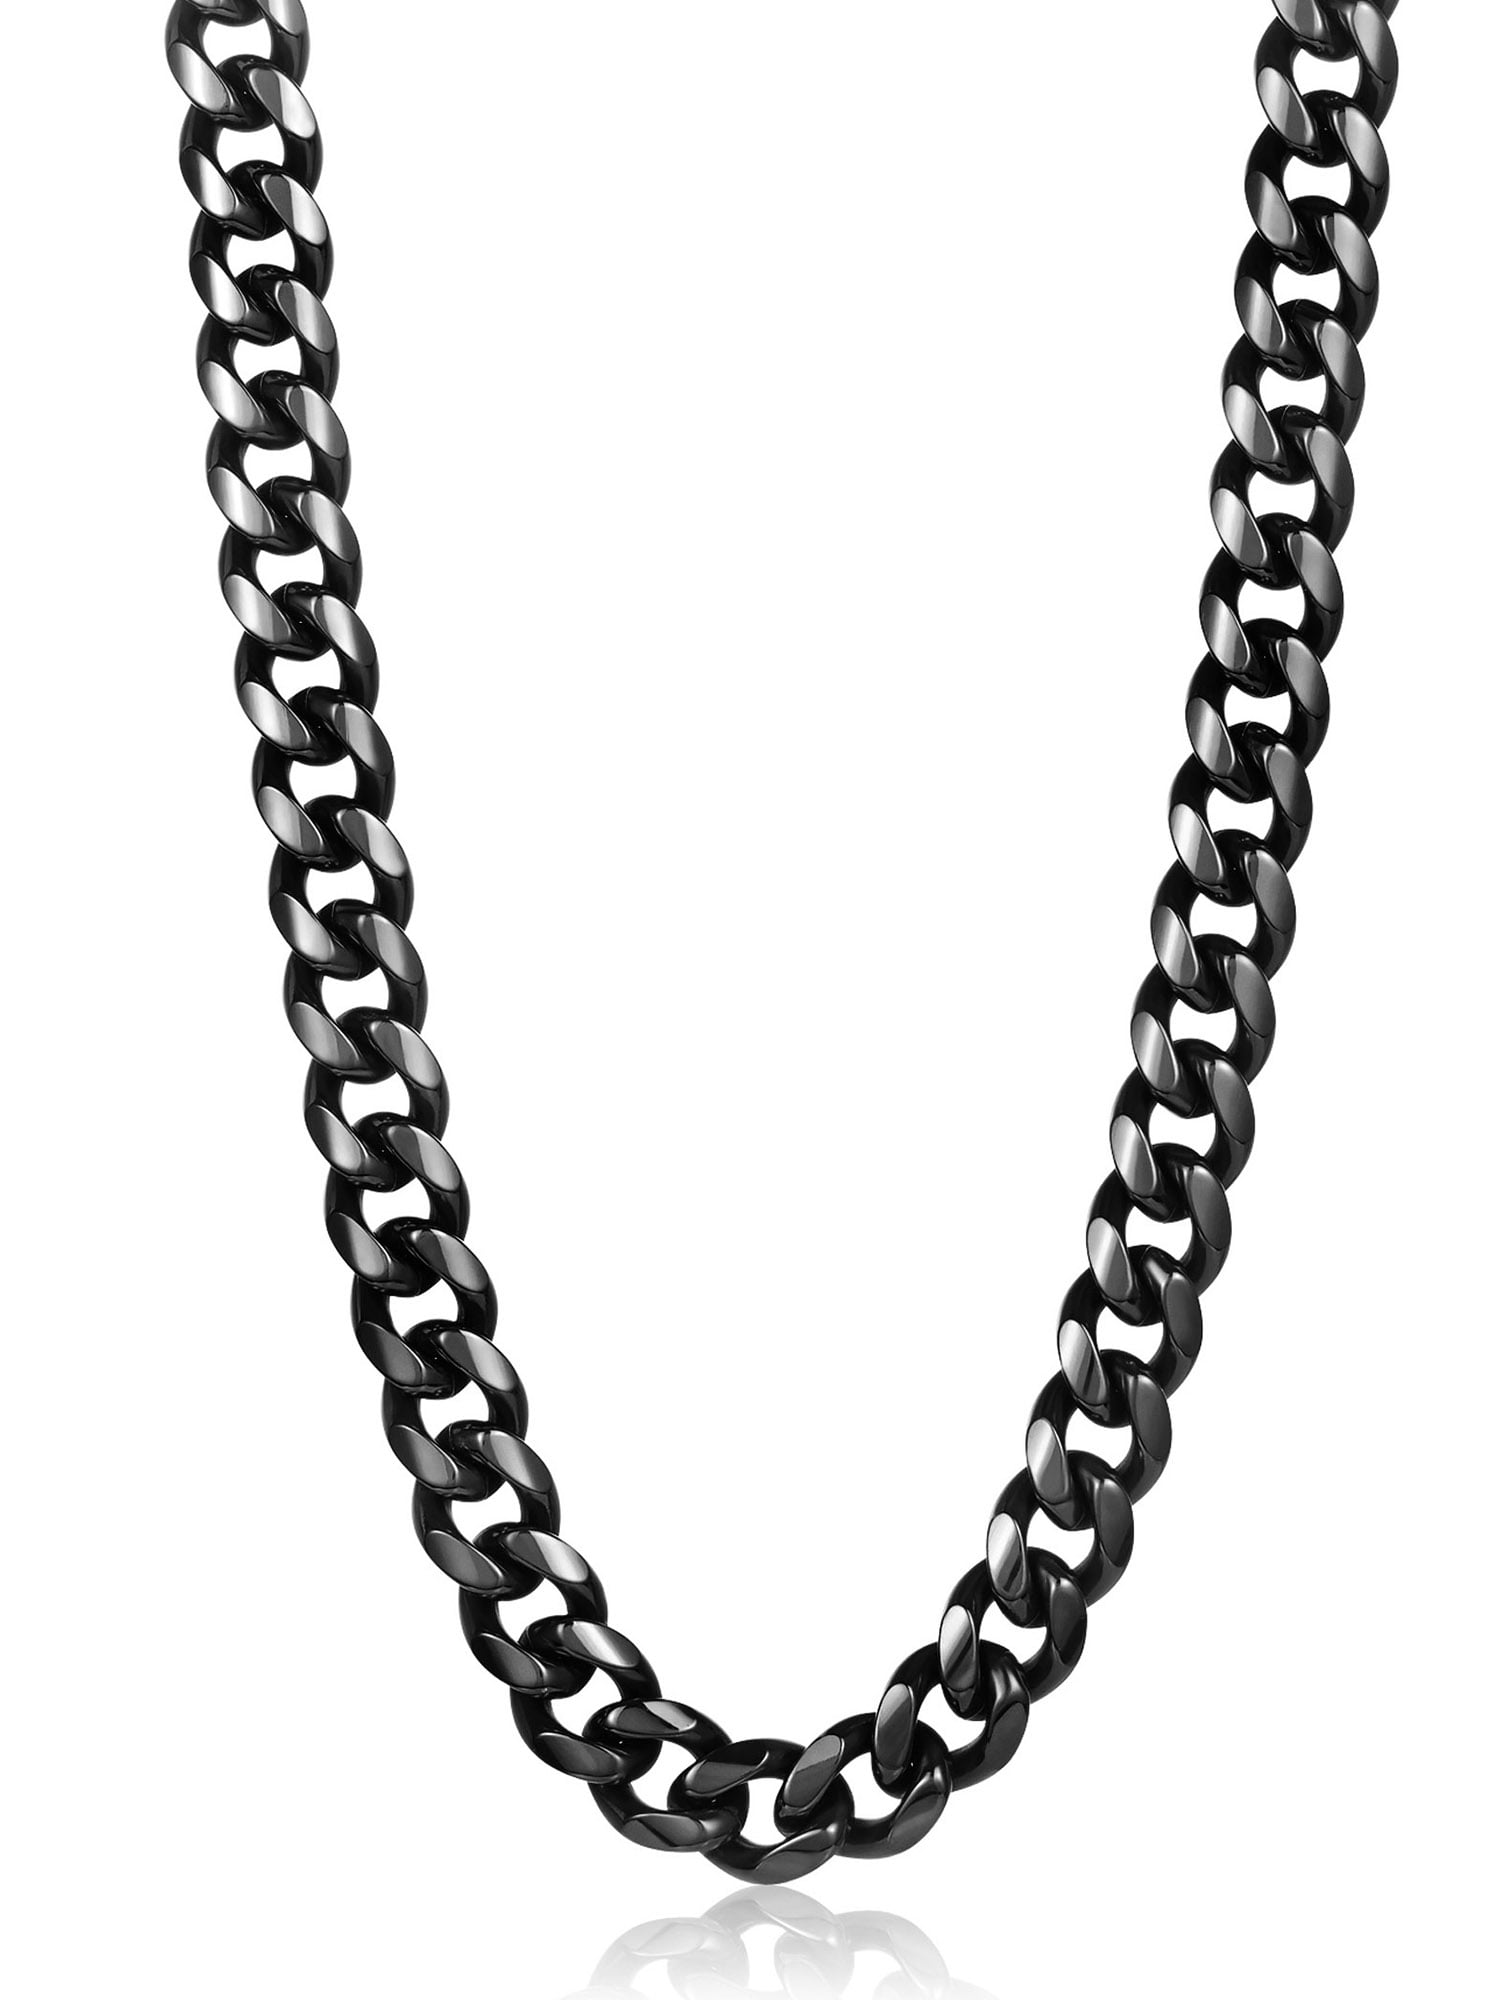
Cleaning Silver Chains:
Silver chains require special care to remove tarnish and restore their brilliance. Follow these steps:
- Create a gentle cleaning paste by mixing baking soda and lemon juice to form a thick consistency.
- Apply the paste to the silver chain, gently rubbing it into the tarnished areas with a soft cloth or toothbrush.
- If the chain is heavily tarnished, place it in a bowl lined with aluminum foil, add a pinch of salt, and cover with warm water. Allow it to sit for a few minutes.
- Rinse the chain thoroughly with warm water to remove the cleaning paste or salt residue.
- Dry the chain with a soft cloth, ensuring it is completely dry before wearing or storing.
- For additional shine, use a silver polishing cloth to gently buff the chain, or consider using a silver polish solution specifically designed for jewelry.
Cleaning Stainless Steel Chains:
Stainless steel chains are relatively low maintenance and require minimal cleaning. Follow these steps:
- Create a simple cleaning solution by mixing mild dish soap with warm water.
- Dip a soft cloth or toothbrush into the solution and gently scrub the stainless steel chain, paying attention to any visible dirt or smudges.
- Rinse the chain under warm running water to remove any soapy residue.
- Dry the chain with a clean, soft cloth, ensuring it is completely dry.
Conclusion:
Knowing how to fix common necklace chain issues is a valuable skill that can help you maintain and preserve your favorite pieces of jewelry. Whether you are repairing broken links, straightening kinks, or replacing a damaged clasp, following a step-by-step process and using the appropriate tools will ensure a successful repair. With a little patience, care, and attention to detail, you can restore the functionality and beauty of your necklace chains, prolonging their lifespan and allowing you to continue wearing them with confidence.
